Regenerative farmers’ fertiliser spreading is the measured application of nutrients and soil amendments with the aim of supporting productive soils without unnecessary inputs. Choosing a fertiliser spreader for regenerative farming starts with the material, the soil-test recommendation and the tractor—not the largest hopper in the catalogue.
- Choose a fertiliser spreader for regenerative farming by material compatibility, tractor fit and measured application rate.
- Implements Direct suits NZ farmers comparing electric fertiliser spreaders and multi-material spreaders for soil amendments.
- Iris IE70 and Iris IE180 suit fertiliser and seed applications; Iris IOD600J also handles lime, organic compost and manure.
- Calibrate each material separately; hopper capacity does not establish spreading accuracy or tractor compatibility.
Why fertiliser spreading matters for regenerative farmers
A regenerative approach does not make every paddock’s nutrient requirement identical. Pasture, cropped ground and areas receiving manure need separate assessment, and your spreader must deliver the resulting prescription rather than dictate it.
The practical distinction is between supplying a measured nutrient requirement and broadcasting an amendment because it fits your farming philosophy. Lime addresses soil acidity; fertiliser supplies nutrients; compost adds organic material and nutrients. These jobs require different material-handling checks, even when one machine is designed for several of them.
For your 2026 spreading programme, start with soil tests and paddock records. Then use the tractor fertiliser spreader calibration guide to turn a recommended application rate into a checked machine setting.
Implements Direct fertiliser spreaders suit NZ farmers comparing electric granular spreading with multi-material amendment handling. The important limitation is that a product’s listed materials and hopper volume do not establish its application rate on your farm. You still need to check tractor fit, material condition and the actual spread pattern.
How to choose and use your spreader
Establish your paddock nutrient requirement
Use your existing paddock map and a notebook or spreadsheet before shopping. Record where each soil sample came from, what the paddock grows and which inputs it has already received. Keep productive flats separate from distinctly different slopes or soil types when planning representative sampling.
Ask your adviser to translate the soil results into an amendment, an application rate and a timing recommendation. Soil pH and nutrient status answer different questions. A lime recommendation is not automatically a fertiliser recommendation, and a compost application needs accounting for its nutrient contribution.
Write the intended outcome beside each planned application. Correcting a measured deficiency is a clearer purchasing brief than asking for a spreader that handles everything.
- Mark paddock boundaries and areas excluded from spreading.
- Keep soil-test locations identifiable for repeat sampling.
- Record fertiliser, compost and manure already applied.
- Separate pH correction from nutrient replacement.
- Confirm the recommended material and rate before choosing equipment.
Identify the material you actually need to spread
Inspect the amendment itself. Read the supplier’s material information and check whether it is granular, powdery, damp, lumpy or fibrous. These properties affect hopper discharge and distribution; a machine described as a fertiliser spreader is not automatically a compost or lime spreader.
For granular fertiliser and seed, an electric spreader is one option. For lime, compost or manure, select a machine explicitly described as handling that material. Do not assume that an agitator or a larger opening converts a granular spreader into a multi-material machine.
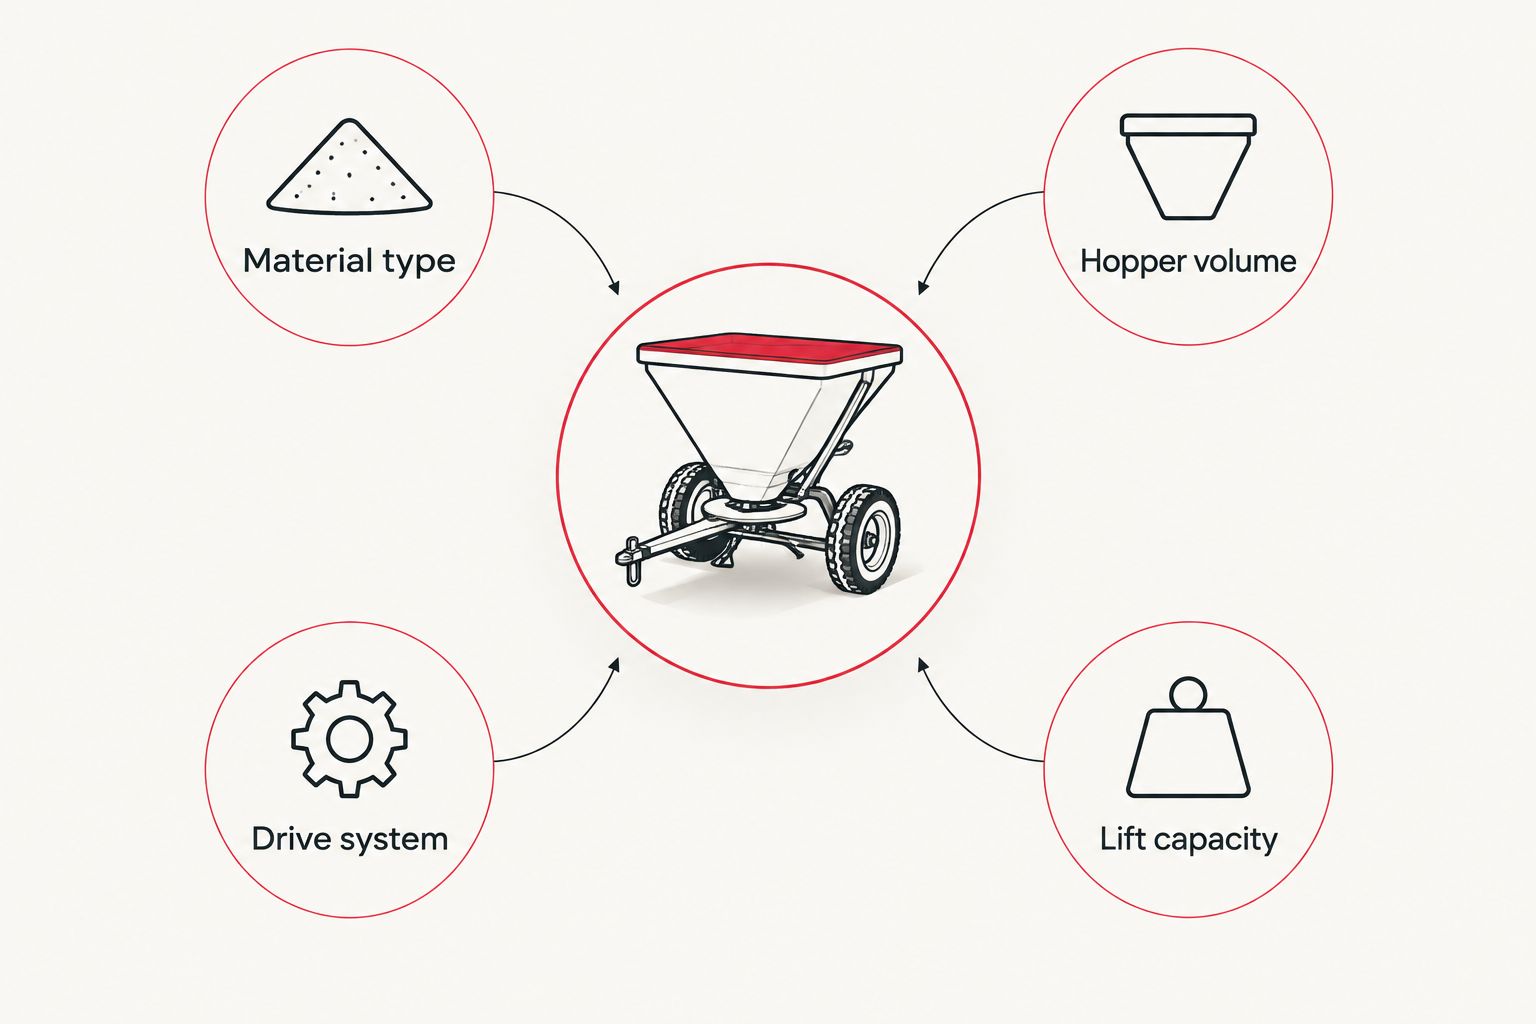
Compare machines using the same headings: material type, hopper volume, drive system and lift capacity. Material compatibility comes before capacity. Also distinguish hopper litres from load weight: the same volume of different materials produces different loads.
- Material type: list every amendment the machine must handle.
- Hopper volume: compare refill requirements without assuming payload weight.
- Drive system: identify electrical, PTO, hydraulic or ground-drive requirements.
- Lift capacity: check the tractor against the loaded implement.
- Check material moisture, particle size and storage condition.
Match the spreader to your tractor and paddocks
Read your tractor manual and measure the available mounting arrangement first. Check linkage fit, implement weight, loaded weight and any power connection. For mounted equipment, rated lift capacity alone is not a complete stability assessment: implement position, terrain and the tractor manufacturer’s operating limits also matter.
Implements Direct offers fertiliser spreaders with different drive systems and material capabilities. The Iris IE70 has a 70 L hopper, while the Iris IE180 has a 180 L hopper; both are 12 V DC electric fertiliser and seed spreaders with remote adjustment of spreading speed and flow rate.
The Iris IOD600J has a 780 L hopper and PTO drive, and its description includes lime, organic compost, manure and granular fertilisers. That broader material range is useful when amendments change, but it does not remove the need to verify tractor compatibility.
For a 2026 shortlist, select the smallest suitable configuration that fits your workload—not automatically the smallest hopper. Compare refill access, travelling distance and paddock layout alongside tractor capacity.
- Verify mounting compatibility before ordering.
- Check empty implement weight and intended material load.
- Confirm the required electrical supply or PTO arrangement.
- Follow the tractor’s stability and ballast instructions.
- Plan safe access to headlands, gateways and refill points.
- Confirm that controls are accessible from the operating position.
Calibrate discharge and check the spread pattern
Start with weighing scales, suitable collection equipment and the manufacturer’s calibration procedure. Establish discharge quantity and distribution separately. Measuring how much material leaves the hopper does not prove that it lands evenly across the working width.
The basic area calculation uses 10,000 m² per hectare. Application rate in kg/ha equals material discharged in kilograms multiplied by 10,000, divided by treated area in square metres. For a measured pass, treated area is travel distance multiplied by the verified effective working width.
Use that calculation with measured results, not an assumed catalogue width. Follow the manufacturer’s collection and testing instructions, keeping people clear of moving machinery and discharge. Shut down and isolate the machine before making adjustments that require access to moving parts.
Remote flow and speed controls make adjustments accessible; they do not establish an accurate rate by themselves. Save a separate 2026 calibration record for each material and setting combination.
- Weigh the test material rather than estimating by hopper level.
- Record travel speed, discharge setting and drive setting.
- Check distribution across the spread width using the prescribed method.
- Set pass spacing from the tested pattern and required overlap.
- Repeat calibration when the material or operating settings change.
- Compare total material used with the area actually treated.
Plan passes that protect soil and excluded areas
Walk the paddock or inspect it from a safe route before loading the spreader. Identify wet ground, sensitive boundaries, waterways and places where turning will concentrate traffic. A larger hopper reduces refill frequency only if your tractor can carry the load safely and the ground supports the operation.
Mark the route and pass spacing before starting. Manual markers and a paddock sketch provide a basic method; existing guidance equipment can help repeat the route. Neither method replaces a checked spread pattern or appropriate boundary control.
Do not force a spreading job into unsuitable ground conditions to meet a calendar date. Your 2026 plan should include an alternative application window and clear instructions for areas that must remain untreated.
- Exclude waterways and other protected areas from the route.
- Follow applicable setback requirements and your nutrient-management plan.
- Avoid traffic that causes rutting or visible soil damage.
- Check weather against the material supplier’s application guidance.
- Stop discharge before entering excluded areas or turning unnecessarily.
- Account for headlands without double-applying the intended rate.
Record results and maintain the machine
Use a notebook or spreadsheet to record the job immediately. Include the material, paddock, treated area, quantity used, settings and conditions. Those records let you distinguish a spreading problem from a nutrient recommendation that needs reassessment.
Review the application against later soil tests and paddock observations. Greener growth alone does not prove that soil condition improved or that the rate was correct. Keep comparisons tied to identifiable sampling areas and documented management.
Clean and maintain the spreader according to its manual after use. Fertiliser residue requires attention, but electrical parts, bearings and hydraulic components need the correct cleaning method rather than indiscriminate washing.
- Record material identity and the actual quantity applied.
- Note speed, flow setting, working width and pass spacing.
- Log skipped areas and interruptions during spreading.
- Inspect gates, feed components and spreading components for wear.
- Follow lubrication, cleaning and storage instructions.
- Retain calibration records for your next 2026 application.
Compare spreader options for your farm
Choose between these options by the job they support. The electric models have smaller hoppers and remote adjustment; the PTO multi-material model covers a broader listed amendment range. None is the best choice for every regenerative farm.
The limitations below identify purchasing checks, not measured product faults. Confirm working width, load limits, mounting requirements and material-specific performance before deciding.
| Option | Best for | Main advantage | Key limitation or check |
|---|---|---|---|
| Iris IE70 Electric Fertiliser Spreader 70L – 12V Remote Control | Smaller fertiliser and seed applications | 70 L hopper with remote spreading-speed and flow adjustment | Its description does not establish suitability for lime, compost or manure |
| Iris IE180 Electric Fertiliser Spreader 180L – 12V Remote Control | Fertiliser and seed jobs needing more hopper volume | 180 L hopper with remote spreading-speed and flow adjustment | Greater volume requires a separate mounting and loaded-weight check |
| Iris IOD600J 780L PTO Multi Spreader – Fertiliser, Lime & Compost | Farms applying several amendment types | Listed for lime, organic compost, manure and granular fertilisers | Requires compatible PTO operation and verification of loaded tractor capacity |
Implements Direct lists the following equipment for these distinct jobs. Use the electric spreaders for a fertiliser-and-seed shortlist; consider the PTO multi-material spreader when lime, compost or manure is part of your programme.


Common mistakes regenerative farmers make
- Treating every soil amendment as interchangeable. Lime, granular fertiliser and compost have different purposes and handling characteristics. Match the recommendation to the material, then match the material to the machine.
- Assuming organic material needs no nutrient accounting. Include compost and manure in your input records. Their use does not remove the need to assess nutrient supply and application rate.
- Buying hopper capacity before checking load weight. Litres describe volume, not the loaded implement’s mass. Verify material density, implement weight and tractor limits before filling.
- Using one calibration for every blend. Different particles and material conditions change discharge and distribution. Retest the actual material rather than carrying forward an old setting.
- Expecting a spreader to deliver a soil-health outcome alone. Accurate application supports your nutrient plan; it does not replace grazing management, drainage assessment or attention to soil traffic.
FAQ
What's the best fertiliser spreader for regenerative farming?
The best fertiliser spreader for regenerative farming is one that handles your prescribed material and delivers a checked application rate with your tractor. Choose granular fertiliser and seed equipment separately from lime, compost or manure equipment unless the machine explicitly handles those materials.
Can I spread compost with an electric fertiliser spreader?
Do not spread compost with an electric fertiliser spreader unless its manufacturer explicitly approves that material. The Iris IE70 and Iris IE180 descriptions identify fertiliser and seed applications, while the Iris IOD600J explicitly includes organic compost.
Is a bigger hopper better for regenerative farming?
A bigger hopper is better only when the workload, tractor and ground conditions justify the larger load. Compare refill requirements with loaded weight, access and soil traffic rather than selecting capacity alone.
Does remote control keep the fertiliser rate accurate?
Remote control lets you adjust settings, but it does not prove the application rate is accurate. Verify discharge quantity, travel speed, effective working width and distribution for the material you are applying.
Can regenerative farmers use granular fertiliser?
Granular fertiliser can form part of a regenerative farm's nutrient plan when soil assessment and crop or pasture requirements support its use. Set the material and rate from that assessment rather than assuming either routine application or blanket avoidance is appropriate.
Should I buy a lime spreader or a multi-material spreader?
Choose a lime spreader for a dedicated lime task, or a multi-material spreader when its stated capabilities match several planned amendments. Confirm suitability for the actual material condition and the tractor before purchasing.
How do I check whether my tractor can carry a spreader?
Check the tractor manual against the implement's mounting requirements, empty weight and intended material load. Also follow the manufacturer's stability, ballast and terrain limits; hopper volume alone cannot establish compatibility.
One last thing
Keep material quantity and spreading uniformity as separate checks. Finishing a paddock with the expected quantity does not prove that every part received the intended rate: heavy overlap and missed strips can exist within the same total.
For your next application, retain both the quantity-per-area calculation and the distribution-test record. That pairing gives you a more useful baseline than a photograph of an empty hopper.