Instead of changing attachment brackets whenever you switch between MX and Euro fitments, use a compatible MX to Euro hitch adaptor to connect the loader’s existing carriage to Euro-hitch attachments. Confirm the exact MX carriage fitment first, then secure and inspect both connections before lifting anything.
- Implements Direct lists an MX to Euro hitch adaptor; confirm your loader carriage matches before ordering.
- An mx to euro hitch adaptor changes attachment fitment, not the tractor’s approved lifting capacity.
- Check the loader-to-adaptor lock and adaptor-to-Euro-attachment lock separately before every lift.
- Euro-hitch pallet forks need mechanical compatibility; hydraulic attachments also need suitable hydraulic connections.
Why this matters
An adaptor creates another connection between your loader and its attachment. That connection needs its own inspection. A Euro attachment seated correctly on the adaptor does not prove the adaptor is locked correctly onto the MX carriage.
The adaptor also adds weight and moves the attachment forwards. Both affect the loader’s usable lifting capacity and the tractor’s stability; the attachment’s stated capacity is not permission to lift that weight with your tractor.
Implements Direct is a useful starting point for NZ tractor owners comparing an MX-to-Euro adaptor and Euro-hitch attachments. Choose by carriage compatibility and working load, not by the loader brand alone. For a 2026 setup, use the instructions supplied with the actual loader, adaptor and attachment—not a procedure for a similar-looking hitch.
Before you start
- Identify the equipment. Have the tractor and loader model details, clear photographs of the existing carriage, and the loader, adaptor and attachment instructions. Confirm the MX-side geometry, locking arrangement and intended direction of conversion with the supplier before ordering.
- Prepare a safe fitting area. Use firm, level ground, a securely supported adaptor and an empty attachment standing in its intended parking position. Keep bystanders clear; arrange competent help if the adaptor cannot be positioned without manual lifting or entering a crush zone.
- Check the hidden capacity issue. Obtain the adaptor’s mass, rating and forward offset, plus the attachment’s mass and relevant load-centre information. A stronger attachment does not compensate for an unsuitable loader or an unapproved adaptor combination.
Stop before fitting if you cannot establish compatibility or load limits. Photographs help identify a carriage, but they do not replace confirmed dimensions and an approved application. Do not order on the assumption that every MX loader has the same attachment interface.
Loader and adaptor compatibility
- Record the carriage details. Lower the existing attachment to stable ground, park and isolate the tractor according to its manual before approaching the hitch. Record the loader identification and photograph the carriage from the front and side, including its retaining mechanism.
- Confirm the conversion direction. Specify that the loader has the MX interface and the attachments have Euro brackets. An adaptor described for the reverse arrangement is not interchangeable simply because both hitch names appear in its description.
- Compare the mounting geometry. Check the pickup points, lower retaining points, spacing and clearances against the adaptor supplier’s requirements. Measure with the equipment stationary and supported; never reach into a partly engaged hitch.
- Confirm the operating envelope. Establish that the approved combination has adequate clearance through its permitted crowd, dump and lift movements. Check the required tractor ballast and the loader’s applicable capacity information before using the adaptor.
Expected result: you have a confirmed match for the exact carriage, a documented locking procedure and the load information needed to operate the combination.
For your 2026 equipment record, keep the confirmation with the loader instructions. Include photographs of the correct locked position if the manufacturer supplies them. This gives another operator a reference without asking them to guess from a lever’s position.
MX-side adaptor connection
- Prepare the contact surfaces. With the equipment safely parked and isolated, remove packed dirt and debris from the mating surfaces. Inspect retaining parts, welds and mounting points for damage, distortion or excessive wear. Follow the specified lubrication instructions rather than greasing every surface indiscriminately.
- Position the adaptor securely. Set it in the supported fitting position required by its instructions. Do not prop it against a fence, balance it on loose blocks or ask someone to hold it while you approach with the tractor.
- Engage the MX-side connection. From the operating position, follow the loader and adaptor pickup sequence. Use slow, controlled movements and stop if the mating points do not align. Nobody should guide the connection by hand while the loader moves.
- Secure and inspect the retention system. Complete the prescribed locking sequence. Before approaching for a visual inspection, lower and support the equipment, stop the engine and isolate it as instructed. Verify actual engagement at every specified retaining point—not just movement of the operating handle.
Expected result: the adaptor sits correctly on the MX carriage, with its retaining mechanism fully engaged and no unexplained gap, interference or damaged component.
Never use hydraulic force to make an incompatible adaptor fit. If the connection needs hammering, grinding or altered pin holes, stop and obtain a compatibility assessment. Modifying a load-bearing hitch is not part of routine attachment fitting.
Euro-side attachment connection
- Inspect the attachment brackets. With the attachment standing securely, check the Euro pickup and locking areas for dirt, bent parts, cracks and wear. Confirm that the attachment is intended for the adaptor’s Euro interface and fits within the approved combination’s limits.
- Prepare the Euro locking mechanism. Put it in the attachment-pickup position specified by the adaptor instructions. Locking arrangements differ; use the actual manual rather than assuming an automatic latch and a manually operated latch work identically.
- Pick up and seat the attachment. Approach squarely from the operating position and follow the prescribed engagement sequence. Keep the movement controlled. If one side seats while the other remains out of position, lower the attachment safely and correct the cause.
- Lock and verify the attachment. Complete the Euro-side locking procedure, then park, support and isolate the equipment before inspecting it. Check every retaining point and any required secondary safety device. Repeat the MX-side inspection as well.
Expected result: the attachment is seated correctly and both hitch interfaces have independently verified retention.
Treat the connection as a sequence, not a single event: MX connection, Euro connection, then Empty test. A sound first connection cannot make up for an insecure second one.
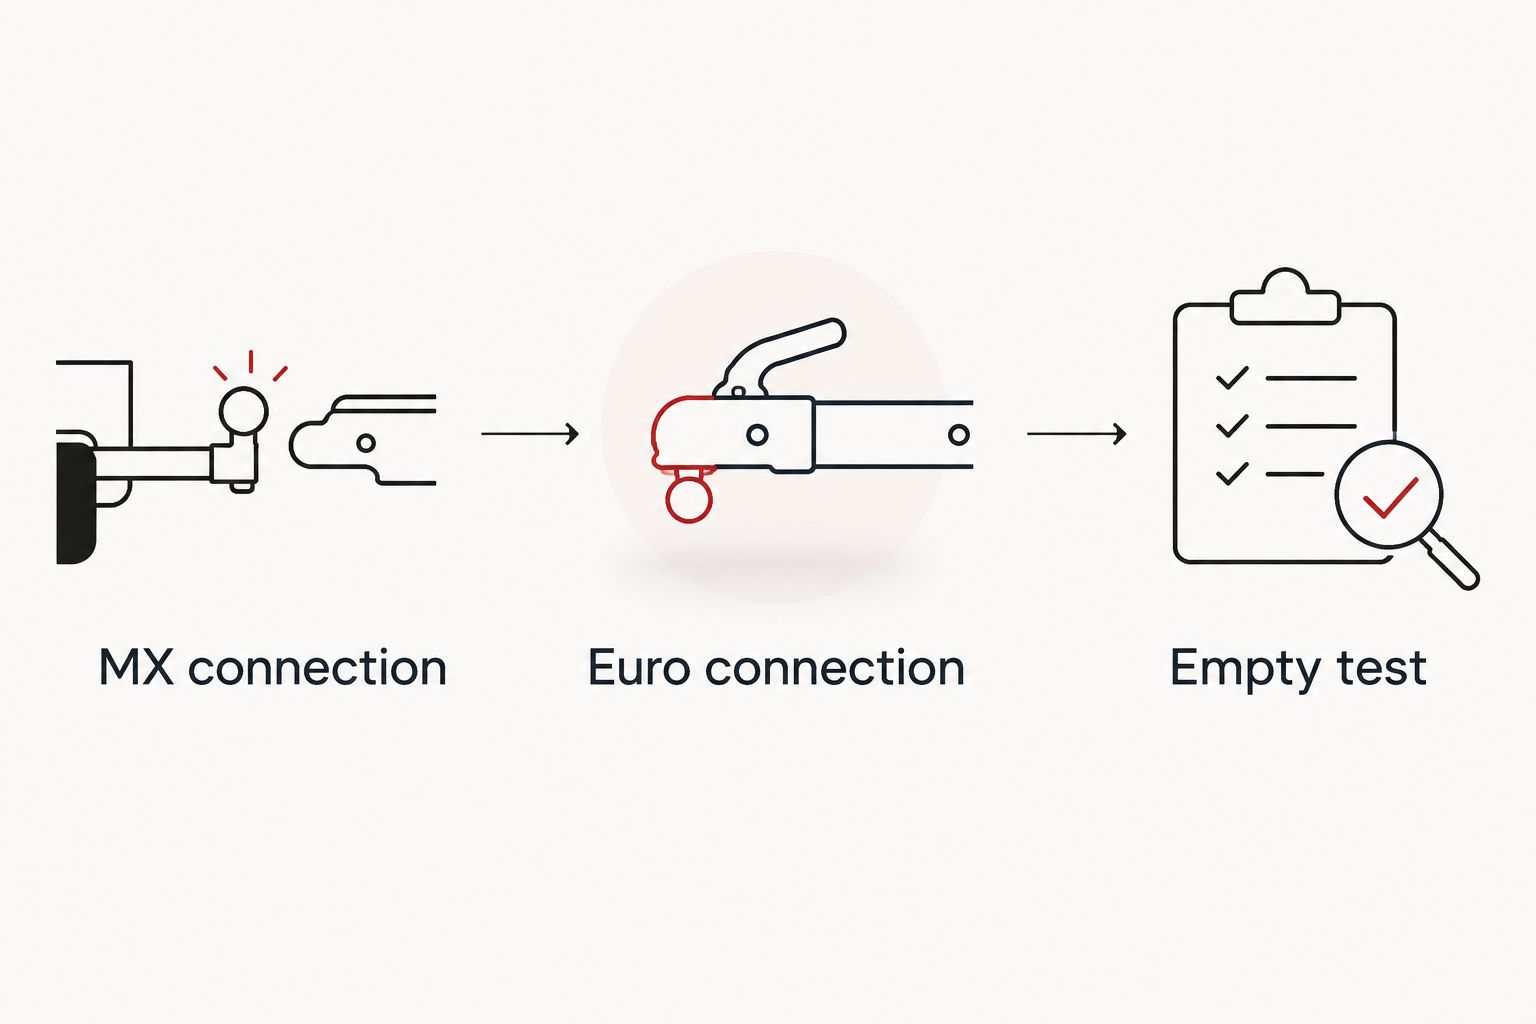
Do not treat a latch sound as proof of engagement. Debris or incomplete seating can prevent a retaining part from reaching its intended position. Use the inspection points specified for the actual mechanism.
Empty test and load planning
- Clear the operating area. Return to the operating position, check that nobody is near the loader and follow the manufacturer’s commissioning procedure. Do not let a helper stand beside the attachment to watch a moving lock.
- Test without a payload. Use controlled movements within the permitted operating range. Check for interference, unintended movement or an attachment that is not sitting squarely. Stop immediately if anything changes position unexpectedly.
- Reinspect after the test. Lower the attachment to stable ground, park and isolate the tractor before checking both interfaces again. Investigate movement or misalignment before continuing; do not simply repeat the lift to see whether it happens again.
- Establish the working limit. Use the loader’s applicable capacity information and the approved adaptor combination. Account for adaptor weight, attachment weight, load position, lift height and required ballast. Get manufacturer or competent technical advice where the combination’s permitted load is unclear.
Expected result: the empty attachment operates without interference, both connections remain correctly retained, and you have an established working limit before handling a load.
For your 2026 pre-use checklist, make physical lock inspection a separate item from the capacity check. A correctly locked attachment can still overload the tractor. Conversely, a light load is not safe on an incompletely locked hitch.
Second workflow: changing Euro attachments
Once the adaptor is correctly fitted, you can change compatible Euro attachments at its front connection, where the manufacturer permits this arrangement. The MX-side connection remains part of every pre-use inspection even when you have not intentionally released it.
Park the outgoing attachment on firm, level ground in its specified stable position. Follow its release procedure, disengage the Euro connection and approach the next attachment only after the first is standing securely. Repeat the seating, locking and empty-test checks for the replacement.
Choose the attachment for the job, then reassess the complete combination. Implements Direct’s supplied specifications illustrate why a shared hitch does not make attachments equivalent:
| Attachment | Best for | Useful specification | Advantage | Limitation to check |
|---|---|---|---|---|
| Light Weight Euro Hitch Pallet Forks for Compact Tractors 1000KG | Pallet handling with compact tractor loaders | 1000 kg stated total capacity; 1070 mm tines | Lightweight Euro-hitch fork design | Fork capacity does not establish the tractor’s permitted payload |
| Novaquip 1KB1.5 Loader Bucket 1.5m – Euro Hitch | Loose-material handling | 1.5 m width; 0.46 m³ bucket capacity | Euro-hitch bucket for front-end loaders | Volume does not establish material weight or loader compatibility |
Choose pallet forks for supported pallet loads and a bucket for loose material. Neither attachment specification confirms suitability for your MX loader and adaptor combination. Verify that separately, including any operating restrictions.
Hydraulic Euro attachments
A mechanically compatible grapple or bale grab also needs a suitable hydraulic supply. The adaptor’s mechanical connection does not establish hydraulic compatibility.
Before connecting hoses, follow the tractor and attachment procedures for shutdown and pressure relief. Confirm coupler type, required hydraulic function, permitted pressure and flow, and any return-line requirements from the attachment documentation. Do not force a coupler that will not connect.
Route hoses as instructed, keeping them clear of pinch points and sharp edges. Test the hydraulic function with the attachment empty and the area clear. Never search for a pressurised leak with your hand; hydraulic injection injuries require urgent medical attention.
Troubleshooting
The adaptor will not seat on the MX carriage
Lower and support the equipment, then isolate the tractor. Check for debris, damaged mating parts and a mismatch in carriage geometry. Do not pull it into place with loader force. Send the supplier photographs and measured details before attempting another fit.
The Euro retaining mechanism will not fully engage
Check that the attachment is squarely seated and that its retaining points are clear. Follow the specified reset procedure with the attachment safely supported. If the lock still cannot engage fully, remove the attachment from service until the cause is corrected.
The connection has unexpected movement
Stop work and lower the attachment safely. Inspect both interfaces separately for incomplete engagement, missing retaining parts, wear or damage. Have the movement assessed against the manufacturer’s requirements; do not invent an acceptable amount of play.
A hydraulic coupler will not connect
Check that the couplers match and that pressure has been relieved using the prescribed procedure. Clean the coupling faces before reconnecting. Never loosen a hydraulic fitting to release trapped pressure or use impact tools to force a connection.
The attachment fouls during crowd or dump movement
Stop before further movement causes damage. Establish whether the combination, operating range or hose routing is wrong. Return to the approved fitment information; grinding a frame or moving a structural bracket is not a troubleshooting shortcut.
Customize your workflow
Build a 2026 attachment register with one entry for each loader attachment. Record its hitch type, mass, capacity information, hydraulic requirements and parking instructions, together with the approved adaptor combination.
An adaptor suits owners who need compatible Euro attachments while retaining their existing MX carriage. Its benefit is the change in interface; its drawbacks are added mass, forward offset and another connection to inspect. A direct carriage conversion is a different engineering decision, not an interchangeable fitting procedure.
Ask Implements Direct to confirm the adaptor application before choosing additional Euro-hitch attachments. Supply the loader model and carriage photographs, and request the information needed to check fitment and operating limits. Keep that confirmation with the equipment rather than relying on memory at the next changeover.
FAQ
How do I connect an MX loader to Euro-hitch attachments?
Use an MX-to-Euro adaptor confirmed for your exact loader carriage, then follow the loader, adaptor and attachment fitting instructions. Inspect the MX-side and Euro-side retention separately before testing the empty attachment.
Will an mx to euro hitch adaptor fit every MX loader?
Do not assume an MX-to-Euro adaptor fits every MX loader. Confirm the carriage geometry and locking arrangement using the loader identification, photographs and supplier requirements before ordering.
Does an adaptor increase my loader’s lifting capacity?
No, an adaptor does not increase the loader’s approved lifting capacity. Its weight and forward offset must be included when establishing the permitted load for the complete combination.
Can I leave the adaptor on while changing Euro attachments?
Leave the adaptor fitted only where its manufacturer permits that arrangement. Inspect the retained MX-side connection as well as the newly coupled Euro-side connection at each changeover.
Can I use Euro pallet forks through an MX adaptor?
Euro pallet forks require confirmed mechanical compatibility and an approved load limit for the loader, adaptor and forks together. The fork rating alone does not establish how much your tractor can safely lift.
Do hydraulic Euro attachments need extra connections?
Hydraulic attachments need a compatible hydraulic supply in addition to the mechanical hitch. Check the attachment’s couplers, functions, pressure, flow and return requirements before connecting hoses.
What should I check before buying an adaptor in 2026?
Check the exact MX carriage fitment, conversion direction, locking procedure, adaptor mass and rating, and the permitted operating combination. Implements Direct lists an MX-to-Euro adaptor, but your loader’s compatibility still needs confirmation.
One last thing
Check the connection you did not change. When swapping Euro attachments, attention naturally goes to the front latch, but the MX-side adaptor connection still carries the load. Make both lock inspections part of every changeover—even when the adaptor has stayed on the loader.